Remove Permanent Marker from LEGO Safely (2026)
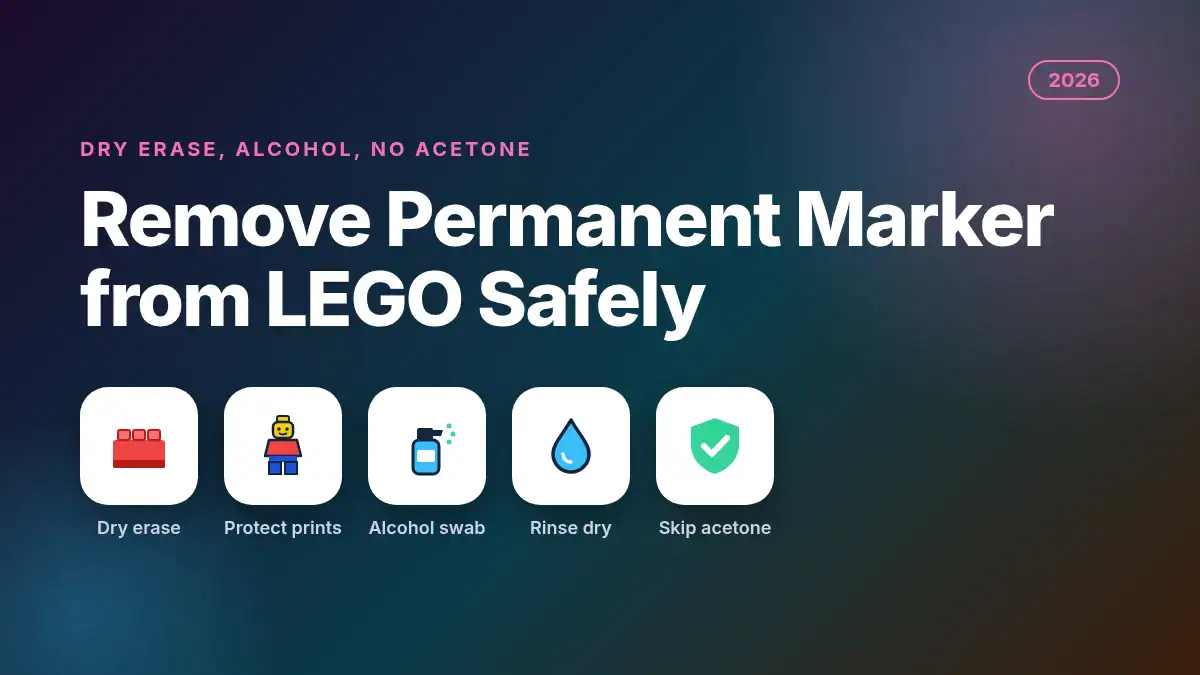
Short answer: start with a dry-erase marker drawn over the permanent mark, wait briefly, then wipe. For stubborn ink on plain bricks, use a cotton swab dampened with isopropyl alcohol and rinse after. Stay gentle on printed minifigures, and never use acetone or nail polish remover on LEGO. Stop any method the moment prints look soft or dull.
Parents and collectors who need to remove permanent marker from lego usually inherited a bin of scribbled bricks or a favorite minifigure with a face doodle. Forum threads and collector guides repeat the same ladder of methods: dry erase first, alcohol next, abrasives only on plain parts, and acetone never. The goal is clean plastic without wiping off official prints.
This guide walks through each method with safety notes, the LEGO Marker Method vs Print Risk Table, and a step checklist you can follow brick by brick. If marker cleanup leaves you sorting a mountain of pieces afterward, our LEGO sorting guide helps you rebuild order without losing the rare parts you just saved.
What Is the Safest Way to Remove Permanent Marker from LEGO?
The safest first try is the dry-erase-over-permanent-marker wipe on plain, unprinted plastic. Dry-erase solvent re-liquefies many permanent inks so both wipe away together with less scrubbing than alcohol. Test on a hidden stud or underside first, and keep printed faces, torsos and logos out of aggressive rubbing until gentler passes fail.
Collector writeups and LEGO community threads treat this as the default because it is less likely to lift tampo printing than a long alcohol soak. It is not magic on decade-old deep stains, but it clears a lot of fresh Sharpie-style marks without sanding the brick surface.
When bricks are also stuck from dried juice or grit, clean the marker after a basic wash and dry so you are not grinding dirt into the plastic. Our guide to LEGO stuck together covers separation without breaking studs, which pairs well with a marker cleanup day.
How Does the Dry-Erase Marker Method Work on LEGO?
Color directly over the permanent mark with a dry-erase marker until the ink is covered, wait about 10 to 30 seconds, then wipe in one direction with a clean cloth or paper towel. Repeat for stubborn spots, then wipe with mild soapy water to clear residue. This is the method most people should try before alcohol.
- 1. Cover the mark. Use a working dry-erase marker and fully coat the permanent ink, including edges.
- 2. Wait briefly. Give the solvent 10 to 30 seconds to blend with the permanent ink.
- 3. Wipe once. Use a clean cloth in a single direction so you lift ink instead of smearing it into crevices.
- 4. Repeat if needed. Old or heavy marks may need two or three passes with a fresh cloth each time.
- 5. Soap rinse wipe. Finish with a damp soapy cloth and dry the brick so no slippery residue stays on studs.
Works best on smooth solid-color bricks. Be cautious on printed tiles and minifigure torsos: light passes are usually fine, but hard scrubbing can still dull or lift print. Collector guides such as Collector’s Headquarters and answers on Bricks Stack Exchange describe the same dry-erase-first ladder, with alcohol next and acetone last. If the dry-erase pass barely moves the stain, escalate carefully to alcohol on a swab rather than grinding harder.
How Do You Use Isopropyl Alcohol on LEGO Safely?
Use a cotton swab dampened with isopropyl alcohol, not dripping, press on the mark briefly, then rub gently and switch swabs as ink transfers. Keep contact short on printed parts, never soak a printed minifigure, and rinse with water when the mark is gone. Alcohol works; uncontrolled soaking is what ruins prints.
Community and collector guides commonly suggest about 70% isopropyl for more working time, while higher percentages can work faster but evaporate quickly. Transparent polycarbonate parts can be more sensitive than standard ABS, so dilute further and test first if you are cleaning clear pieces. If the surface feels tacky, stop and rinse immediately.
- Damp swab, not a flooded brick.
- Fresh swab when ink loads up; dirty swabs smear.
- Avoid soaking printed heads, torsos and decorated tiles.
- Rinse and dry before returning pieces to a sorted bin.
Alcohol can fade official prints if you keep rubbing the decorated area. When a scribbled minifigure face sits on top of factory printing, decide whether a faint marker shadow is better than a bald torso. Missing decorative elements are harder to replace than plain bricks; our guide to missing LEGO pieces explains replacement options when cleanup goes too far.
Which Marker Removal Method Is Safest for Printed Minifigures?
For printed minifigures, start with dry erase, then tiny alcohol-swab touches only on the marker itself, and skip abrasives and acetone. Prints are thinner than the ABS body, so anything that scrubs or dissolves ink can erase the official decoration too. Use this LEGO Marker Method vs Print Risk Table before you touch a rare figure.
| Method | Best for | Risk to printing | Notes |
|---|---|---|---|
| Dry-erase over permanent marker, wipe | Fresh marks on plain bricks; first try on prints | Low if you avoid hard scrubbing on the print | Best default; repeat gently |
| Isopropyl alcohol on cotton swab | Stubborn marks on plain bricks; careful spot work | Medium to high on prints if soaked or rubbed long | Damp swab only; rinse after |
| Pencil eraser (soft) | Light surface marks on plain areas | Medium if you erase across print lines | Stop if plastic looks cloudy |
| Magic Eraser style melamine sponge | Last resort on plain, unprinted bricks | High: abrades gloss and can remove prints | Light pressure; never on faces or logos |
| Acetone / nail polish remover | Never on LEGO you care about | Severe: can melt ABS and wipe prints fast | Do not use |
| Long alcohol soak of whole minifigure | Avoid for printed parts | High: fades tampo printing | Prefer swab targeting of the mark only |
When the table says high risk, believe it. Saving a $3 brick with a Magic Eraser is fine; gambling a printed exclusive torso the same way is how collections lose value and kids lose favorite characters.
What Should You Never Use on LEGO Prints?
Never use acetone or nail polish remover on printed LEGO pieces you want to keep. Acetone can soften or melt ABS quickly and strip decoration long before the brick looks “clean.” Also avoid long soaks in strong solvents, harsh abrasives on faces, and any method you have not tested on a scrap brick first.
Magic Eraser style sponges remove a micro layer of plastic with the ink. That dulls gloss and can erase prints even when the marker disappears. Soft pencil erasers are milder but still abrasive if you bear down on a torso print. Hand sanitizer gel shows up in some tips as a weaker alcohol option for tiny spots; treat it like alcohol and keep it off delicate prints if you can.
If a piece is beyond saving without destroying the print, isolate it rather than forcing a nuclear solvent. Kids can still build with marked plain bricks in a practice bin, and story time stays intact when the hero minifigure keeps its face. For more LEGO-with-kids reading after cleanup, see our list of the best LEGO books for kids.
How Do You Remove Permanent Marker from LEGO Step by Step?
Work one piece at a time on a towel, start gentle, escalate only as needed, and rinse before you sort. This checklist keeps you from jumping straight to harsh solvents on a printed figure. Follow it in order and stop when the mark is gone rather than polishing until the plastic looks tired.
- 1. Sort and photograph. Pull marked pieces aside. Snap a quick photo of rare minifigures before you clean in case a print fades.
- 2. Wash loose dirt. Mild soap and water first so grit does not scratch under your cloth.
- 3. Dry-erase pass. Cover, wait, wipe, repeat. Check results in good light.
- 4. Alcohol swab if needed. Damp swab on the mark only; fresh swabs; rinse and dry.
- 5. Plain-brick abrasives last. Soft eraser or a light Magic Eraser touch only on unprinted plastic.
- 6. Reject acetone. If nothing else works, accept a faint shadow or retire the piece rather than melting it.
After cleaning, let pieces dry fully before they return to drawers. Wet bricks in a closed bin can pick up new stains and odors. Keep solvents away from kids and ventilate the room when using alcohol.
FAQ: Remove Permanent Marker from LEGO
Does dry erase marker really remove Sharpie from LEGO?
Often yes, especially on newer marks on smooth bricks. The dry-erase solvent softens permanent ink so both wipe off. Repeat the cover-and-wipe cycle before you escalate. It may leave a faint shadow on old, deep stains, which is still better than damaging a print.
Will isopropyl alcohol remove minifigure printing?
It can if you soak printed parts or rub hard for a long time. Use a lightly damp cotton swab on the marker only, keep sessions short, and rinse when the ink lifts. If the printed area looks soft or color starts transferring to the swab, stop immediately.
Is Magic Eraser safe on LEGO bricks?
Only as a last resort on plain, unprinted bricks, and only with light pressure. Melamine foam abrades the surface, so it can dull gloss and wipe off factory prints. Do not use it on minifigure faces, torsos or decorated tiles.
Can I use acetone or nail polish remover on LEGO?
No for pieces you care about. Acetone can damage ABS plastic and strip printing quickly. Community and collector advice is consistent: skip acetone and nail polish remover, even when the marker seems impossible.
What if the marker is in brick crevices?
Use a dry-erase pass first, then a thinly damp alcohol swab or toothpick-wrapped cotton to reach grooves without flooding the whole brick. Avoid soaking detailed printed parts. Patience with small tools beats dunking a whole minifigure in solvent.
What Is the Bottom Line?
The bottom line is that removing permanent marker from LEGO is a ladder: dry erase first, careful alcohol next, abrasives only on plain plastic, and acetone never. Protect prints over perfect blankness, rinse when done, and stop as soon as the mark is gone. That is how scribbled bricks become buildable again.